

Video Pre-Production
Steps to success.
You have a fantastic idea. Don't blush - you know it's true. It's such a good idea that you need to create a video for maximum audience engagement and promotional value!
So... now what?
Now you start the task of planning your video: Pre-Production. This vital process will help organize your thoughts, needs, and vision. The documents you create will guide you and your creative team throughout the life of the production. In the end, it will save you time - which will save you money.
I. Audience Personas & The Creative Brief
While what you want to say is important, who you are speaking to is everything. A well thought out audience persona and creative brief will help you define your audience, and what exactly your message needs to be. You may find that you need to create multiple audience personas based on your audience demographics. Developing these personas will help you better target your content.
Just like any story, you need to describe who, what, when, where, and why. The creative brief answers those questions - and more! During this process, you will identify what objectives the video will accomplish, general timelines, and the specific intended audience. This document will be your roadmap that guides everyone on the project.
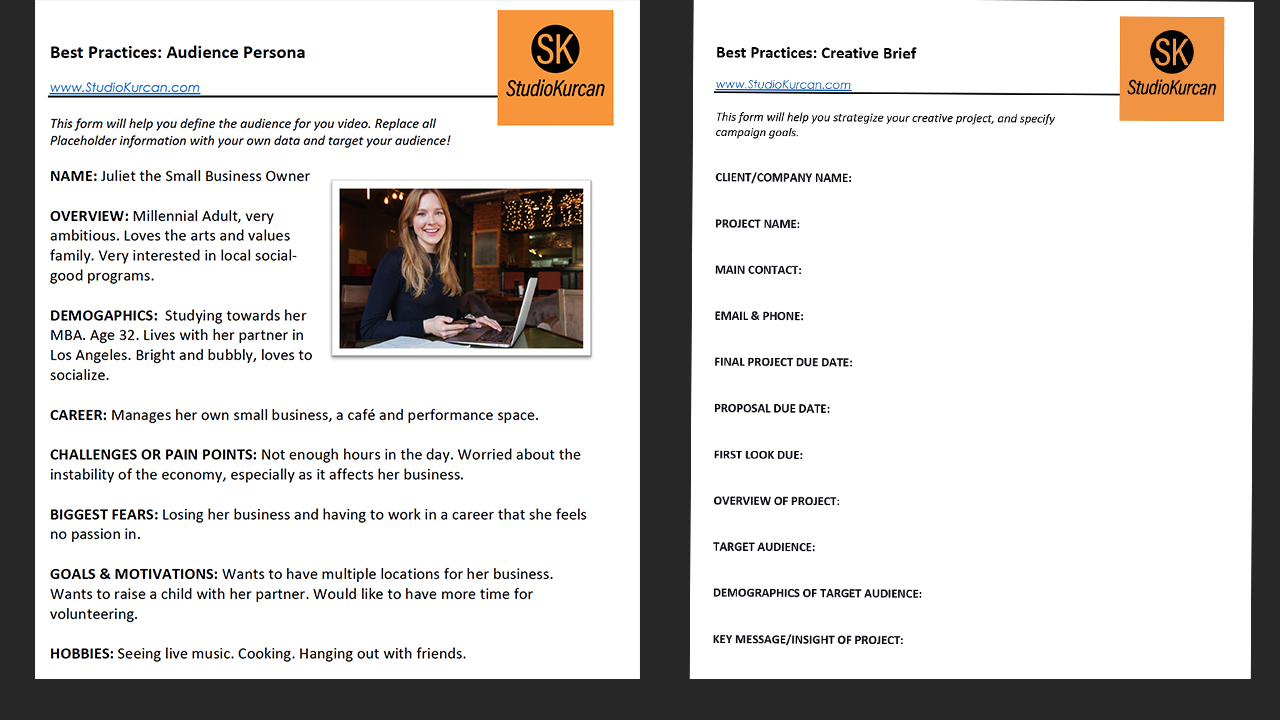
Audience Persona & Creative Brief Templates.
The creative brief will also help your creative production team generate a proposed budget, synopsis, treatment, and script. Once you have completed audience personas and the creative brief, story development can begin. Eventually, these developmental documents will turn into your script. Depending on what kind of video you're producing, you may only need one of these devices or can combine them.
II. Synopsis & Treatment
A synopsis is a brief overview of the story, generally no more than three to four paragraphs long. There is no set format for a synopsis - it can be a table or chart, prose, or any other form that works best for you. Keep your writing in the active voice, and focus on the narrative arc of the video.
At this stage, avoid substantial detail and leave out scene headings/slug lines (INT. OFFICE, etc.). Focus on the subject, problem, and soliton. The synopsis will often serve as the client pitch.
After the synopsis, the treatment will further outline the story and specify the accompanying visuals. A simple A/V two-column style may suffice for some projects, but a treatment storyboard hybrid allows stakeholders to visualize the final project in more concrete terms.

A/V Script Template.
The storyboard will become more intricate as you move into the scripting phase of pre-production.
III. Script & Storyboard
Write your script. Revise it. Revise it again. And again. Make sure you are saying exactly what needs to be said.
Read the script aloud and watch for any tongue twisters. Make sure that your script fits into the expected length of your video. If it takes a minute to read your script, assume that the video will run a bit longer than that - accounting for cutaways, animations, and pacing.
Insert action points throughout the script. Describe the type of shot envisioned, what sounds accompany the action, and what the viewer is seeing. Call out any segments that require animation or overlay graphics. Keep track of time in the script for each scene. A two-column AV script will organize this neatly. Lock the script as soon as you can agree on having no more changes.
Once locked, fold the script into a full storyboard to plan out every shot and piece of media that will appear in the video. Don't worry if you are not a fantastic artist; the goal here is to visualize every part of the video from start to finish.
If needed, pull stock images that match intended poses or actions. Place branding elements on top of these images, where applicable. I use a PowerPoint deck designed for speed and editability. Worst case, write out a bulleted list of what needs to happen in the shot.
Medium Close Up of Talent.
Talent turns to face camera.
They are holding the product.

Storyboard Template.
Your production team will build a script breakdown and shot list from the storyboard, helping to maximize onsite shooting time. The script breakdown will identify every item needed for the video: locations, props, effects, voiceovers, music, talent – literally everything that needs to be sourced or made for the final product. The shot list will provide a shot-by-shot breakdown of each scene, delineating framing, and other details such as lensing, location, camera movements, and time of day.

Shot List Template.
IV. Next Steps
With a solid set of pre-production materials completed, it's time to plan the shoot. Your production team should start scouting locations, physically going to each location, and observing lighting conditions, any possible sound issues, amongst other things.
Take copious notes during a site visit. Are there sounds from HVAC, or road noise? Are there windows that will need covering before shooting? How far will gear need to be pushed to get to the location?
Photos and videos should be taken of every location for reference. A director's viewfinder (or viewfinder app) can be useful to preview what shots will look like on the actual production camera. The location scout is also the perfect time to think about onsite logistics, insurance, and permits that may be needed.
Now that you've prepared a bulletproof plan for your video, you and your team can start sourcing talent, crew, props, and any gear that is required. Do not stress if you feel that you've missed a step. There's always time to course-correct, and you'll be able to attack pre-production better for the next project.
Be sure to take a look at the pre-production template documents here, and stay tuned for our next installment of SK Backstage!